Stella Toon 3

Now, we'll make the shirt.
Place the cursor at the origin. Add a cube, and apply "Subsurf-Subdivid:" with a 2 value, to it.
Select the four lower vertices and Extrude down a little. Do the same with the top vertices. Place the cube as in the image above.

Convert the Cube Subsurf mesh to a normal one with Alt-C keys.
Now it's time to work a bit with a nice tool! The PVE...??? No, not the Perpendicular Vector Editor, but, the Proportional Vertex Editing, O key.
Enter Edit mode, Select one or two top central points, or side ones, and move or scale them ( you can change the size of the affected area ( doted circle) with - or + keys).
Practice a lot with this tool, it's very useful.
Reshape the mesh more or less like in the image above.

To make the shirt collar ( add a cillinder/neck to guide you), in the top central area of the mesh, delete some vertices ( image above).
Then, select an half-circle of vertices that surround the neck and extrude them three times in a more or less inverted V shape as in the image above.

Select the new verttices, Extrude and scale them a bit higher to add thickness to the collar.
Build faces to close the zone.

Join the Cylinder with the shirt mesh, and Build faces to close the mesh ( follow the red lines in the image above).
When you join two objects with different materials, you one object with a multi-materials material.
Before build faces, check in the Edit window who's the current material ( new build faces, will get it assigned automatically).

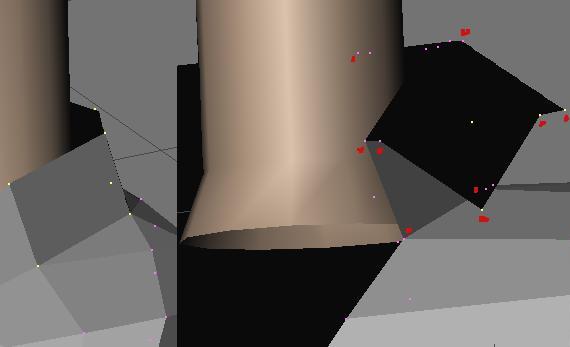
In the lower side of the mesh, select some rows of vertices, refine and reshape them to make the pelvic area, and assign a different material to the selection ( the same as the neck?).
To verify if your mesh has no imperfections, select one row of vertices, press Shift-H keys ( to hide the unselected others) and in Top view, check the shape regularity ( little problem in the red arrow zone).