Car 5

Ah, a real chalenge (at least to me). The wheel.
The model doesn't help very much. One of the difficulties is...how to start?
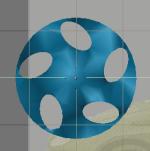
Look at the model and the finished object ( images above); good? Not very good? Bad?!
It´s time to make choices! How much time do you have, or want to spend making the wheel? If you want to became a "pro" you must continue to refine the object until "perfection", but to make an animation or a still image without close plans of the wheel i think that's fine!
Let's begin!

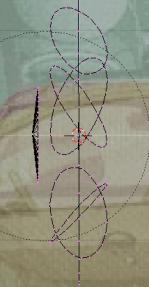
In front view place the cursor in a clear place and don't move it anymore ( we'll model the wheel by scratch).
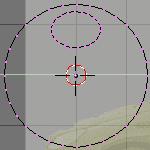
Add-Mesh-Circle, the number of points is up to you, Iaccept default. Enter Edit mode and add another Circle. Move, Rotate and shape it accordingly to the images above.
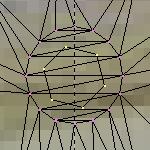
With second circle still selected, in the Edit window, set "Degr:" to 360, "Steps:" to 5, "Turns:" 1 and then press the "Spin Dup" button ( save, before).
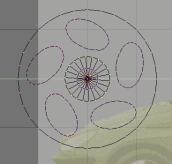
Now you should have 5 circles (see image above right). In fact you have 6.
Select all vertices and press the "Rem Doubles" button. Check the information bar, you must have 160 vertices.

Always in Edit mode, Add-Mesh-Cylinder. Erase the far side and in the other, Extrude the outer circle. Place the object as in the second image above.
Select the outer circle and all the other circles and build faces, Shift-F keys and Alt-F keys to make Beauty fill.
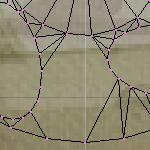
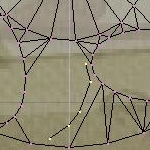
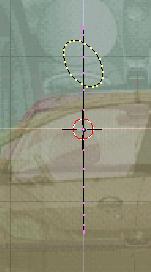
Erase some edges. Select two vertices, Erase -Edges and so on. With Ctl-LMC make a curve like the image above right ( yellow dots) and Build faces all over. In side view move the new curve to left to add relief. Do the same with the other circles.


In the central outer circle erase edges. Add 4 Circles with the method describe above. Build faces (see first image). With the new 4 circles selected, extrude to the right to make the bolts cavity. Close the bottom. To make the bolts Add-Mesh-circle- 6 points ( see second image above) and Extrude. To smooth the object use the Auto Smooth button ( try different vallues).