Iron Woman 4

Now we'll made the upper side of the torso. Select the three top vertices of the breast sphere and extrude three times
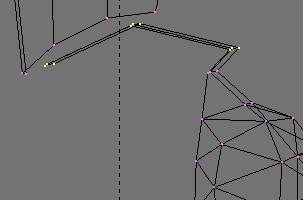
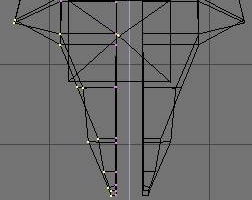
Place the rows of vertices as the image above shows.

Check in Open Gl mode, if the extruded work goes fine, and if the new faces have correct
"normals".
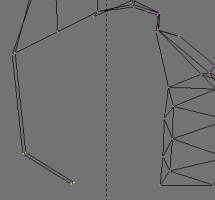
Select two vertices in the neck area and extrude them down, build faces and reshape them in order to make a back bag ( see image above).
Link the back with the pelvic area.

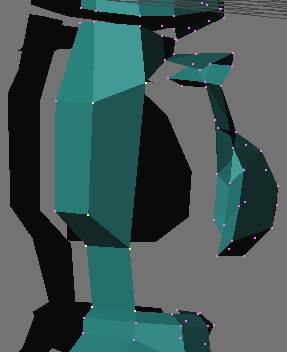
Here's the torso almost finished.

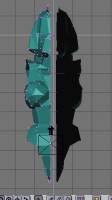
If you feel the need to have a guide model, you can load a character/scene object you have previously made, in another BLENDER scene. This way you have a guide model ( the light grey model in the image above) and you can't select or dammage it.
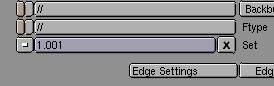
To do this, make a new empty scene, Shift-F1 keys to browse trough your Hard Drive and load the object/scene to use as a guide, go to the first scene and in the Display buttons window, at the extreme left, in the Set field ( see image above) press the little white square button and select the name of the new scene you have created. This works even in Open Gl mode.
To close the pelvic and shoulders zones, select the last vertices ( normally this forms a closed round shape), and extrude one time.
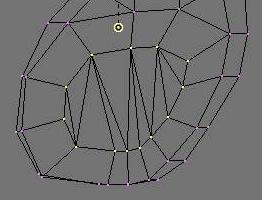
Now Scale them and do Shift-F keys to close the hole (image above).
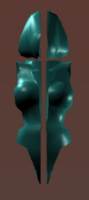
Check your object in Open Gl mode, and in Render mode.